
All reports in Expensify belong to a Workspace. Expenses on a report are coded with categories and tags from that specific workspace. It’s a best practice to set a default workspace for your Expensify account. This will ensure all reports are submitted to your primary workspace.
Set the default workspace that you want Expensify to use for your expenses and reports
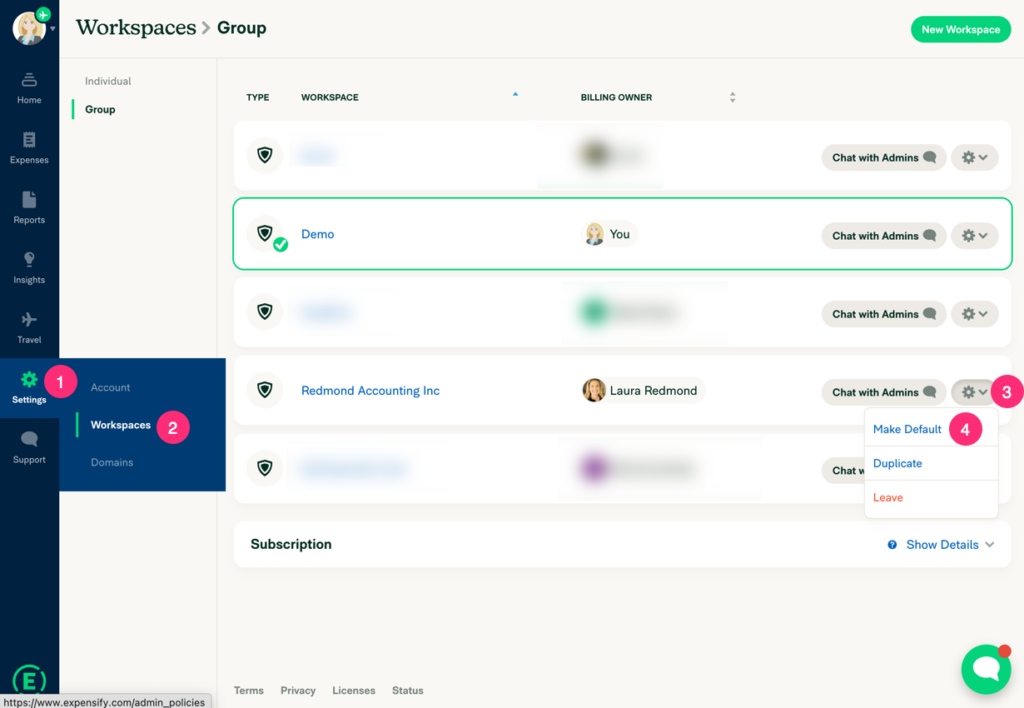
- Navigate to Settings (gear icon) > Workspaces.
- On the Workspace screen, find the name of the workspace you want to make your default.
- On the far right of that row, click the down arrow next to that row’s gear icon and select “Make Default”.
Fix any reports that do not have the proper workspace selected
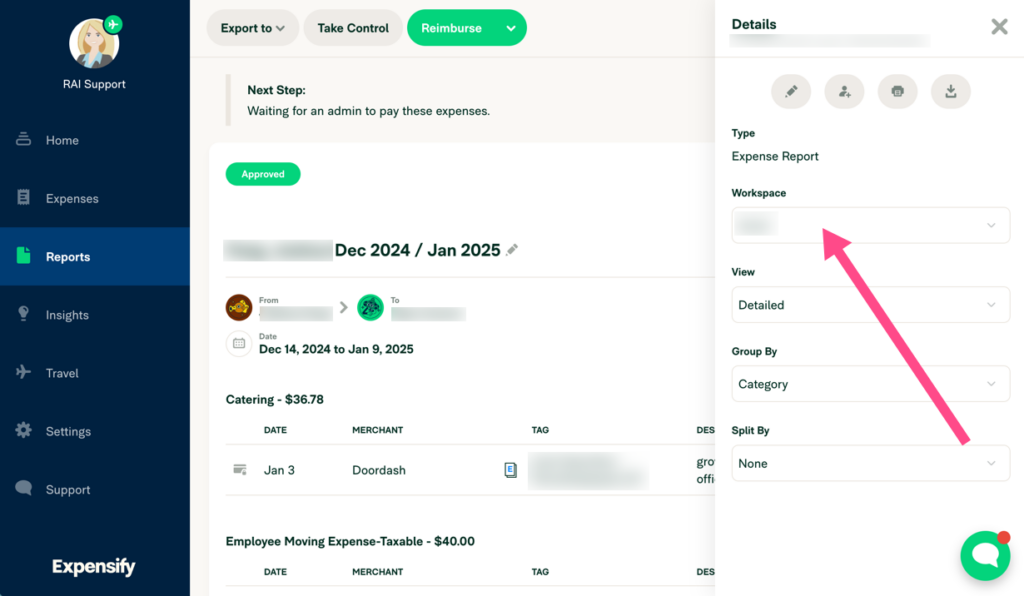
- Navigate to the report and click the grey Details button in the upper right corner.
- In the Workspace field, select the Workspace you want to use.
- The workspace you select determines which categories and tags you can use and who you submit to.
Leave a Reply