
Expensify is a tool for managing expense reports. Your company has invited you to use their Expensify policy to manage expense reimbursements and/or company credit card purchases. You can use Expensify on your smartphone or in your web browser.
The information below is specifically for users residing inside the United States. If you reside outside the US, click here.
Logging in
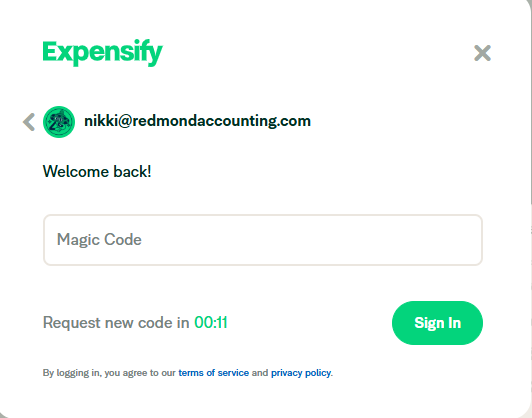
When your organization invites you to Expensify, you will receive an email invitation. Locate the email and click the link to Get Started.
Expensify will ask you for a “magic code,” which is sent to your email. Check your email and enter the code.
Set up your Profile
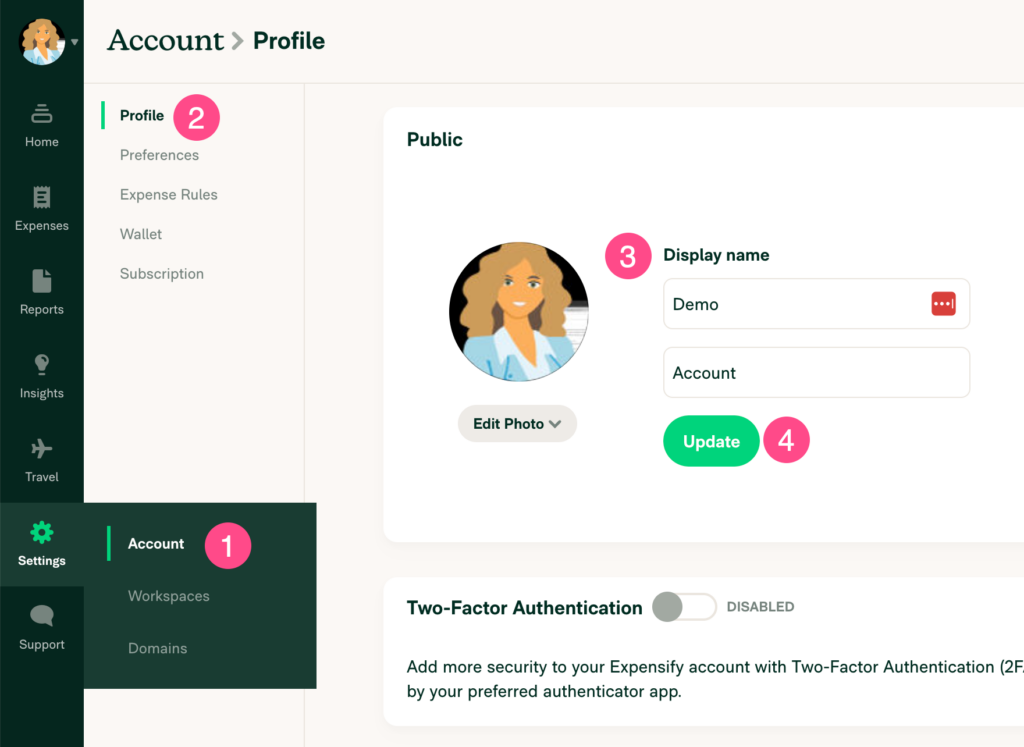
Navigate to Settings (gear icon) > Account > Profile. In the Public section, upload your picture and add your first and last name. Click the Update button.
Delegate Access
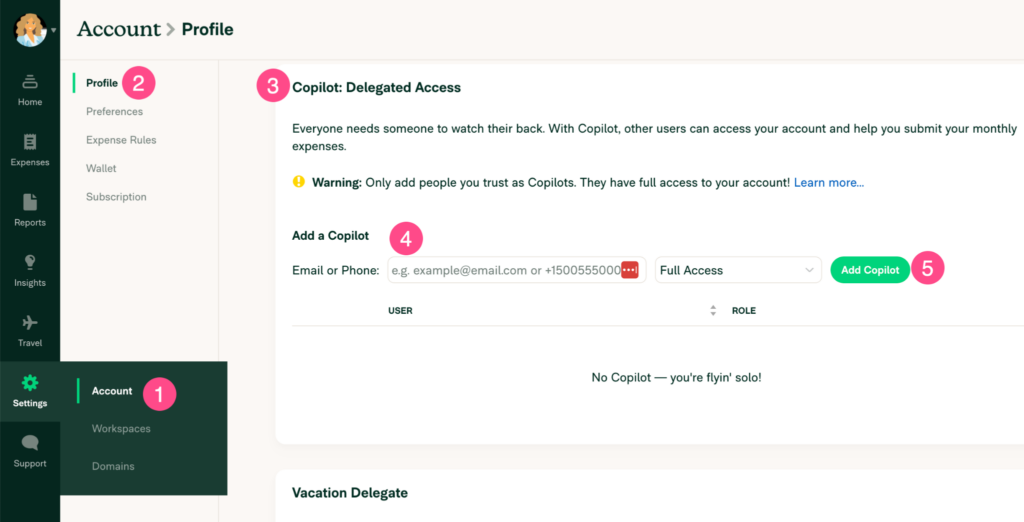
To delegate access to an assistant or support agent, scroll down to the Copilot section. Enter the email address of the person you want to delegate access to. Choose between Full Access or Submit Only and click the Add Copilot button. You can find more information here.
Add your Bank Account
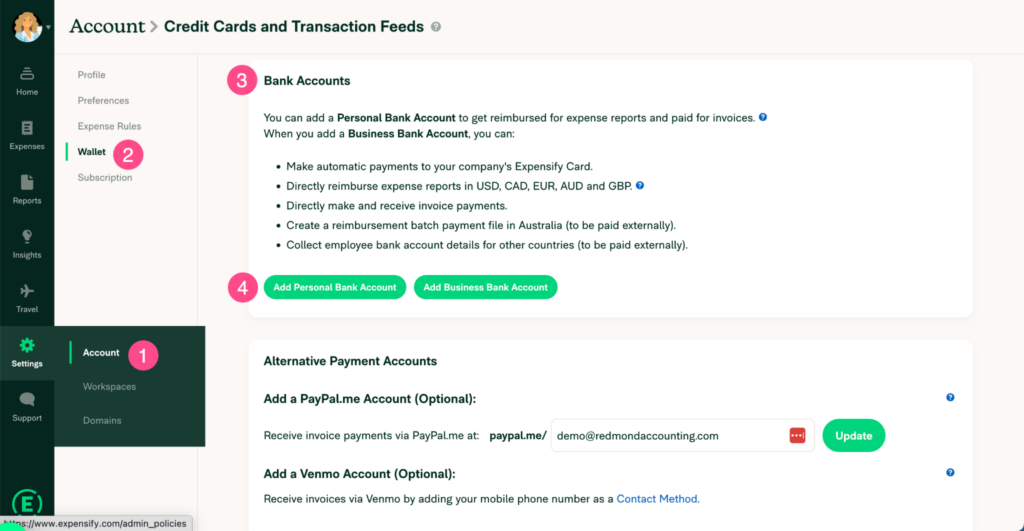
- Navigate to Settings (gear icon) > Account > Wallet.
- In the Bank Accounts section, click the button to Add Personal Bank Account information.
- Follow the wizard to connect to the bank account you want to receive reimbursements to.
- When you submit a reimbursement report, you will be paid electronically. You will set up and maintain this bank account information in Expensify. More instructions, including information on what to do if your bank isn’t supported, can be found here.
Download the Mobile App
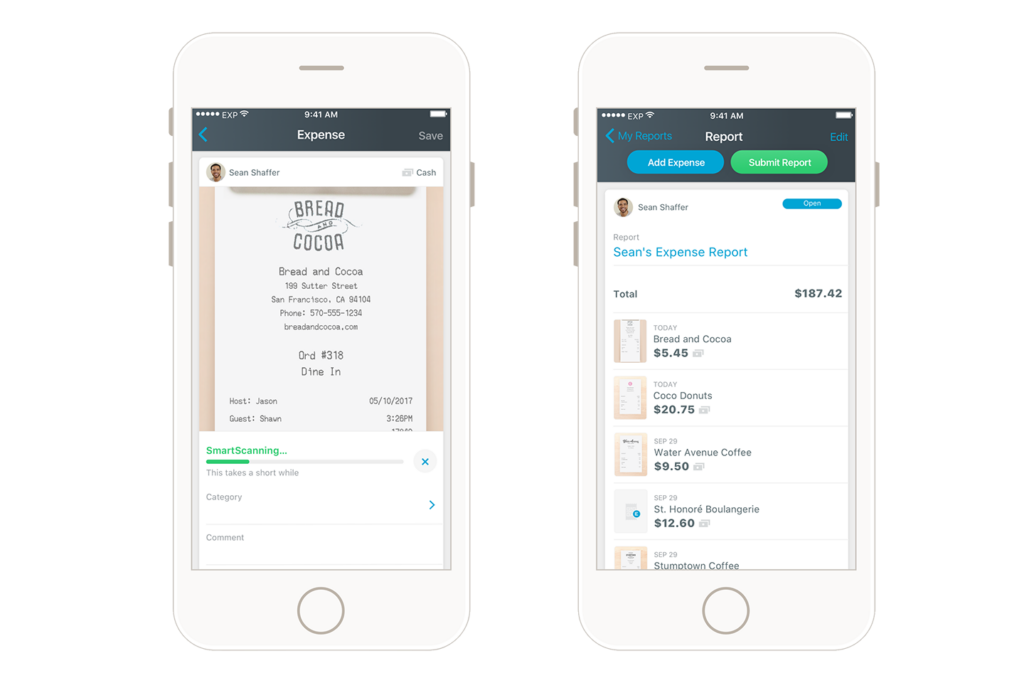
Download the iOS / Android app on your mobile device and log in to your account.
Leave a Reply