The steps to set up a new bank account in Expensify for processing approved employee reimbursements.
Log in to Expensify
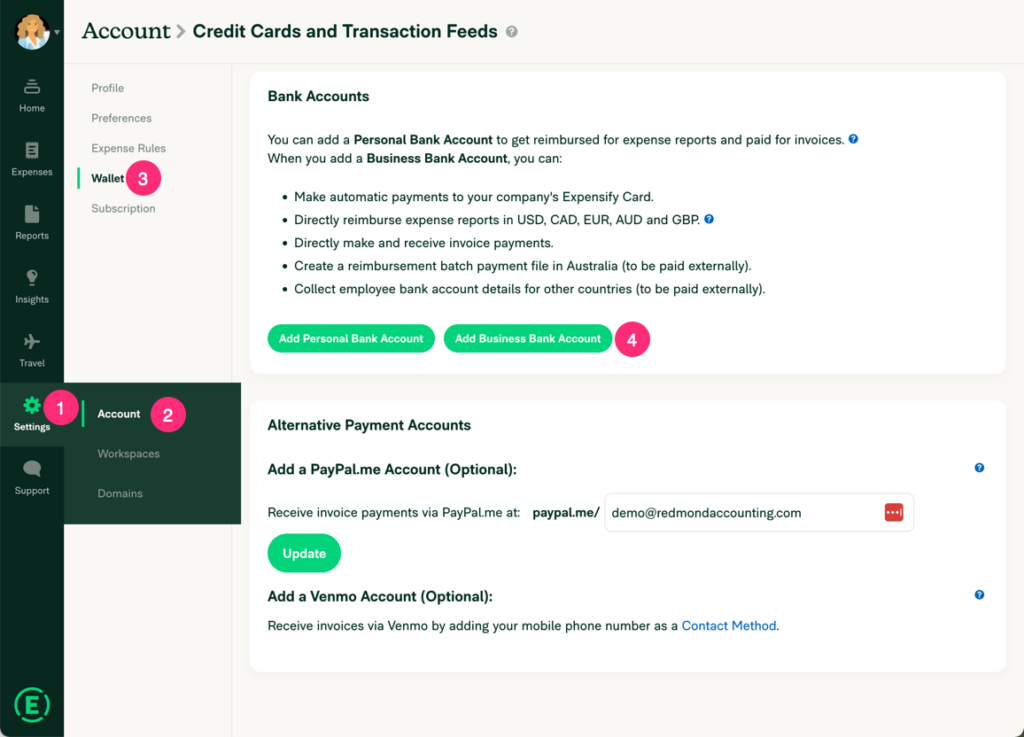
Use the left navigation pane to go to Settings (gear icon) > Account > Wallet. In the top section called “Bank Accounts”, click the button “Add Business Bank Account“.
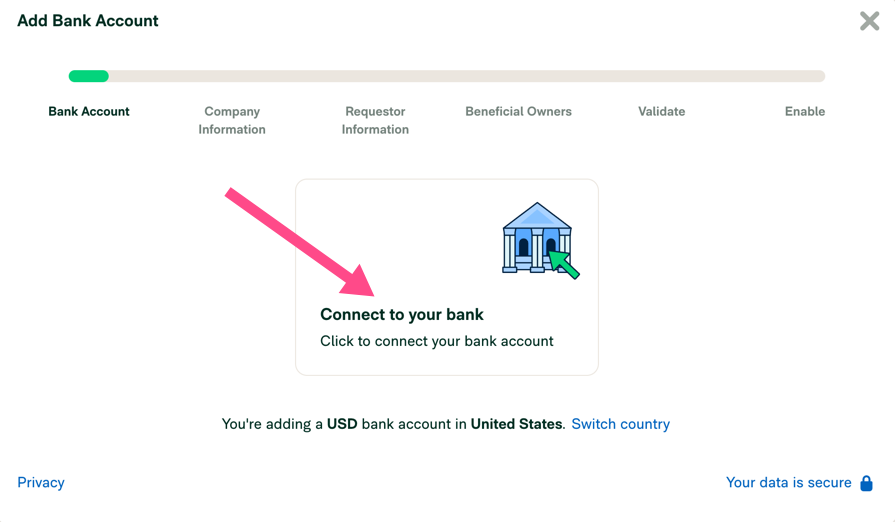
Connect to your bank
Click the middle tile.
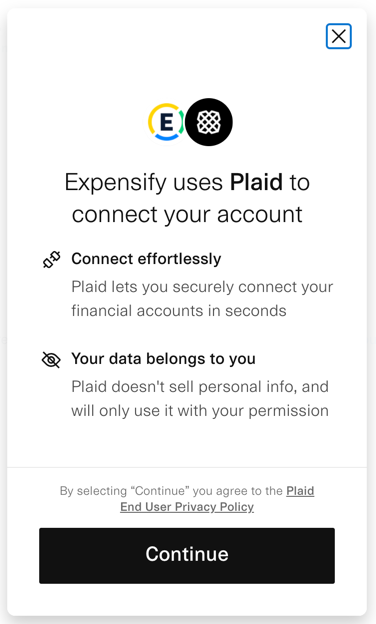
Click Continue to accept the notification that Expensify uses Plaid to connect to your bank.
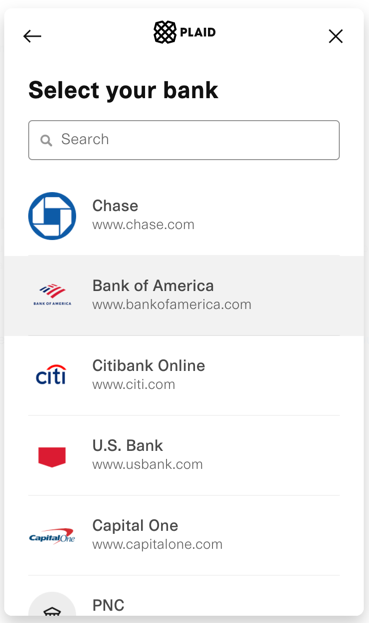
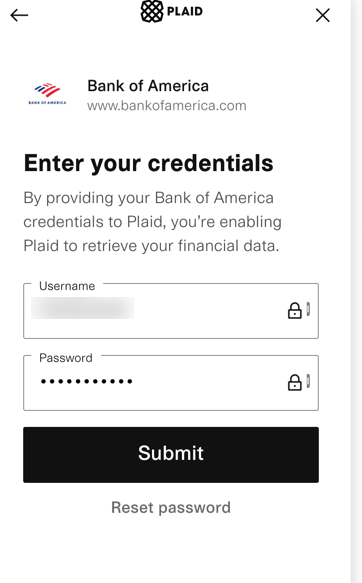
Select your bank, and then enter your username & password, and click Submit to connect to the bank
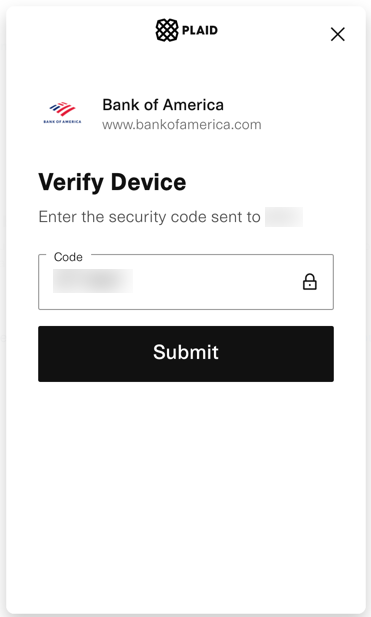
Allow Access
Click the method you want to receive a security code, then click Continue. Fetch the security code, enter it, and click Submit.

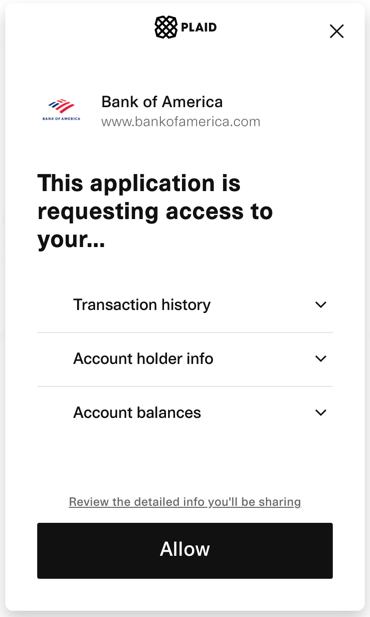
Click to Allow access
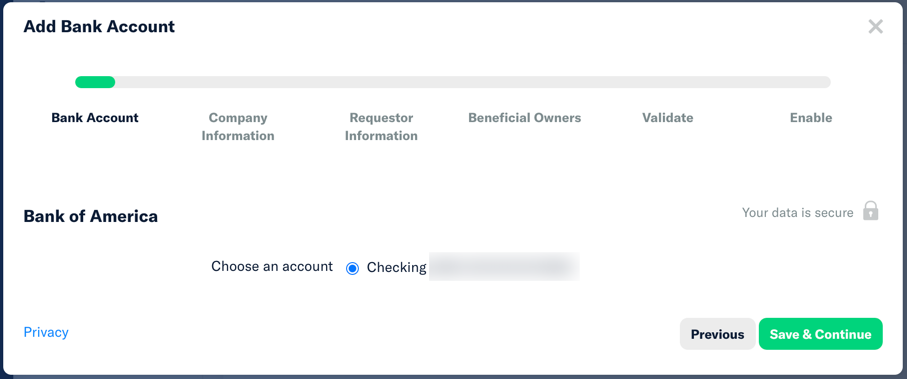
Select Account
Select the business’s bank account that you want to use to reimburse expense reports. Click the Save & Continue button.
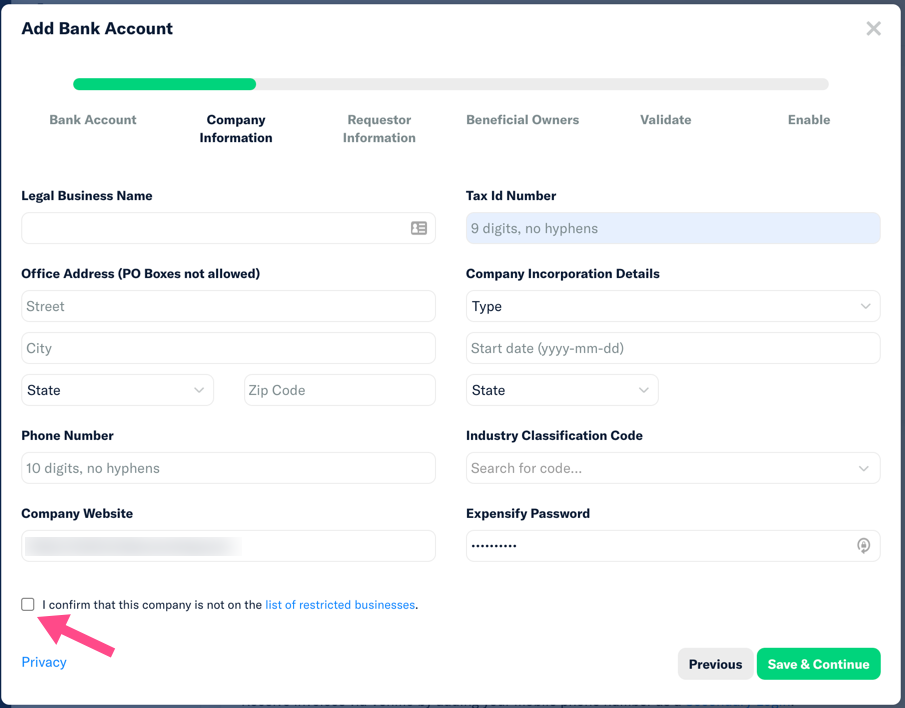
Verify Company Information and Identity
Complete the Company Information requested on screen. Include the Expensify password you used to log in. And check the box that the company is not a restricted business. Click the Save & Continue button.
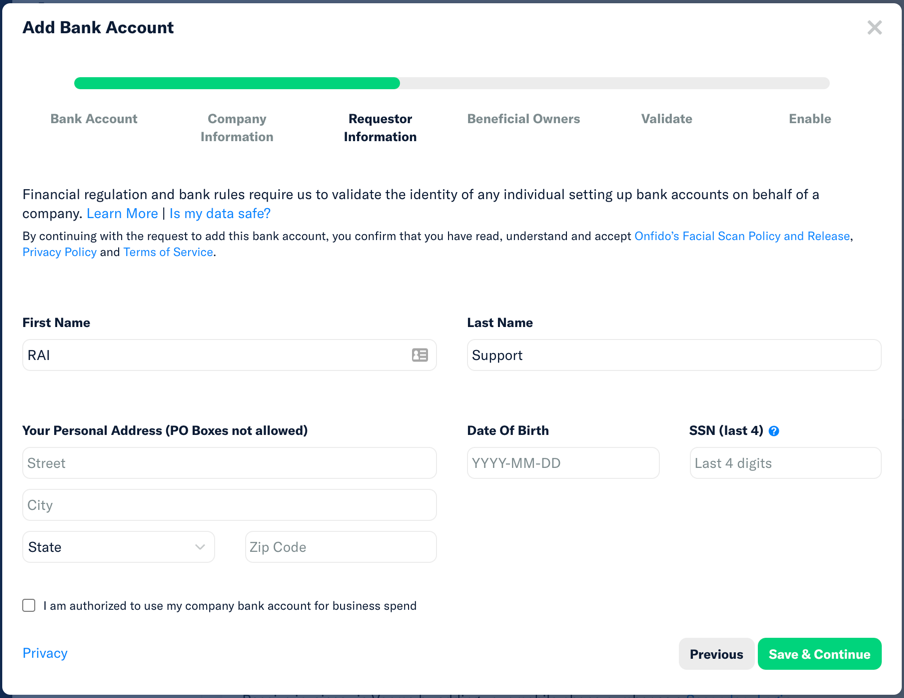
Enter the information requested about your identity to validate that you are authorized to connect Expensify to your bank account. Remember to check the box to confirm that you are authorized, and then click the Save & Continue button
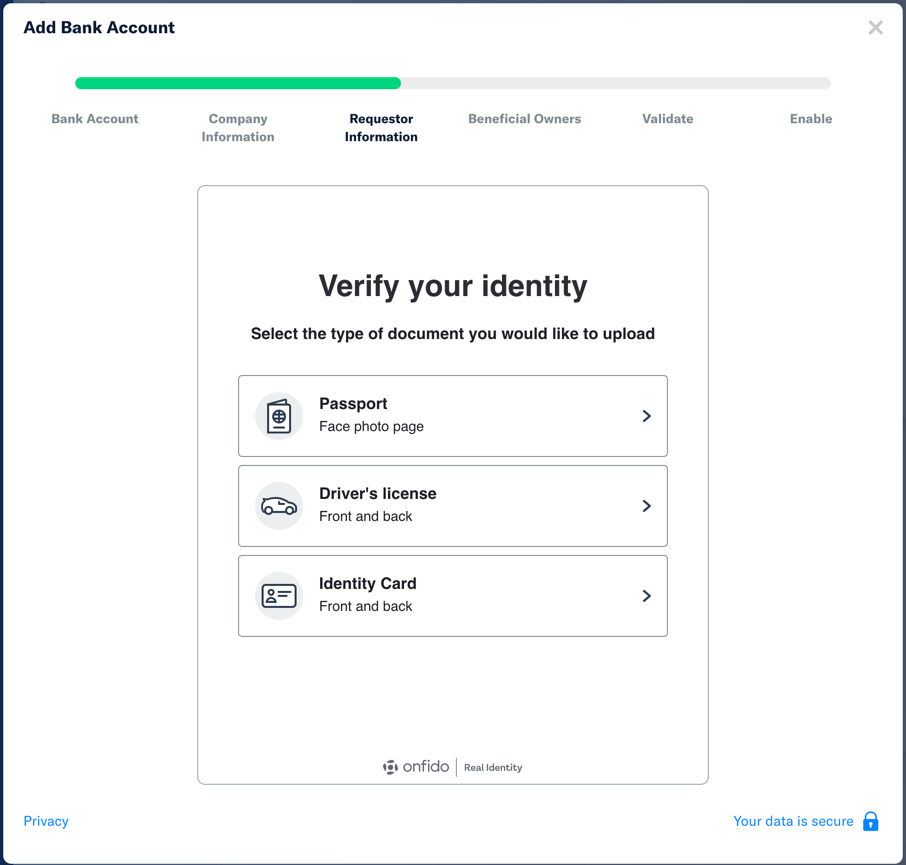
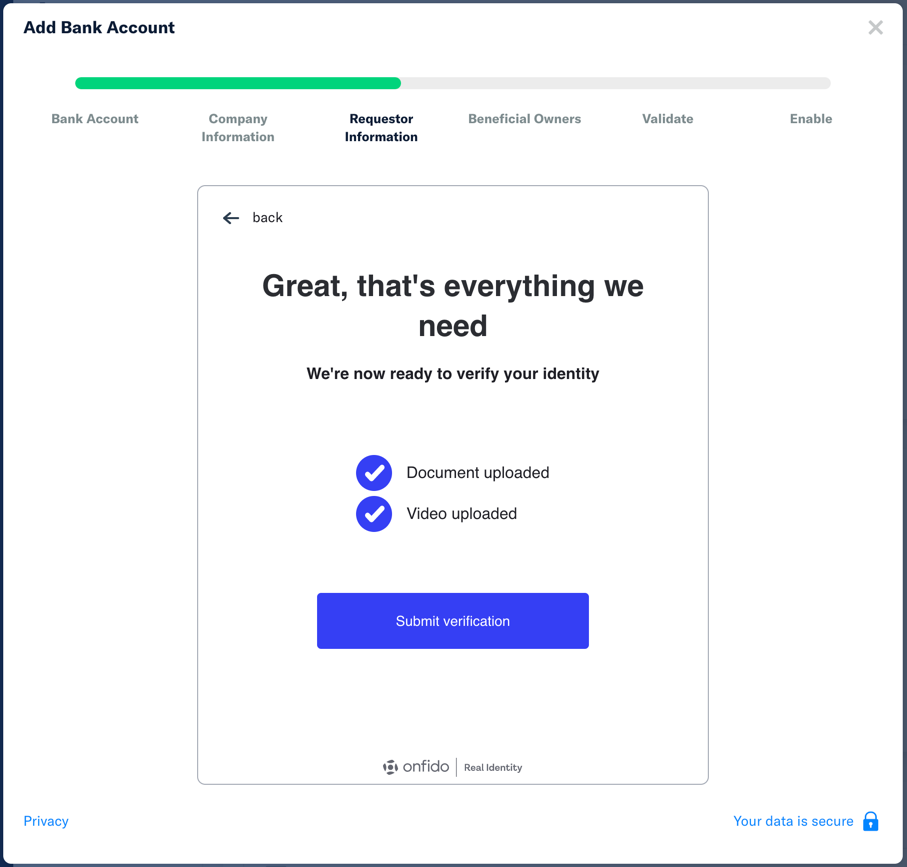
Select the type of identification that you would like to use to verify your identity. Follow the instructions to provide that identification and click the Submit verification button.
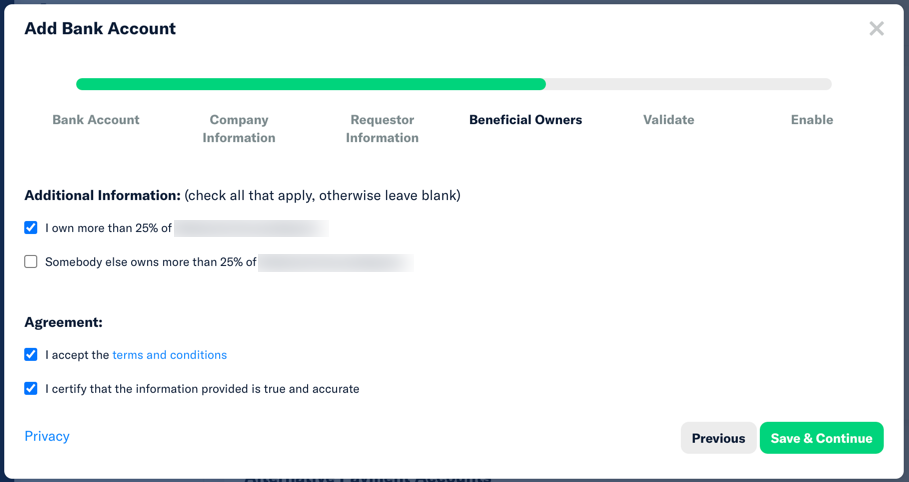
Check the box to confirm that you or someone else owns more than 25% of the company. Then check the boxes to accept the terms and certify the information provided, then click Save & Continue.
Close the wizard.
Validate Account
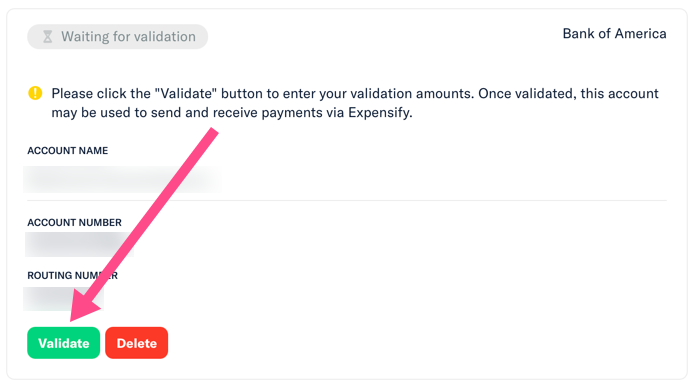
A day or two later, Expensify will send 3 small transactions to your account with the description “Expensify, Inc. Validation”. Log on to your bank and find those test amounts.
Then log in to Expensify, go to Settings > Account > Payments. Click the Validate button.
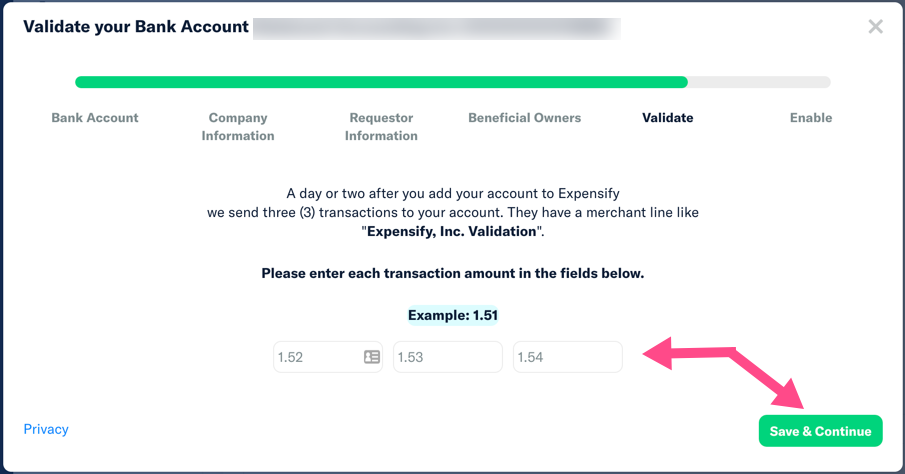
On the pop-up screen, enter the validation amounts from your bank account. Click Save & Continue
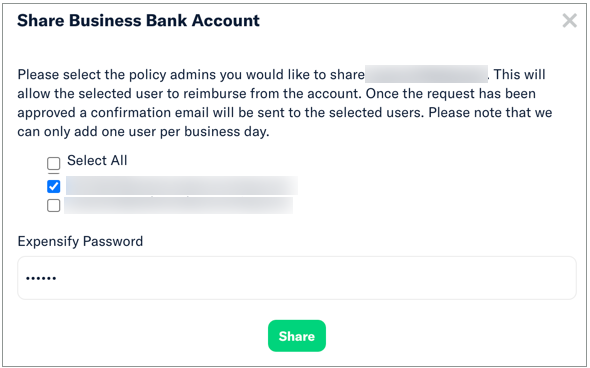
Share Bank Account with Redmond Accounting
(Redmond clients only) Once that bank account is confirmed and allows it, click the Share button and check the box next to yourcompanyname@redmondaccounting.com to share your bank account with us so that we can reimburse your staff on the reimbursable expense reports that you approve.

Leave a Reply