Here are the steps to connect your company bank and credit card accounts to QuickBooks Online, for purposes of automating the data entry process
Log in to QuickBooks Online
Use the left navigation menu to go to Accounting > Bank Transactions. Click the Connect account button.
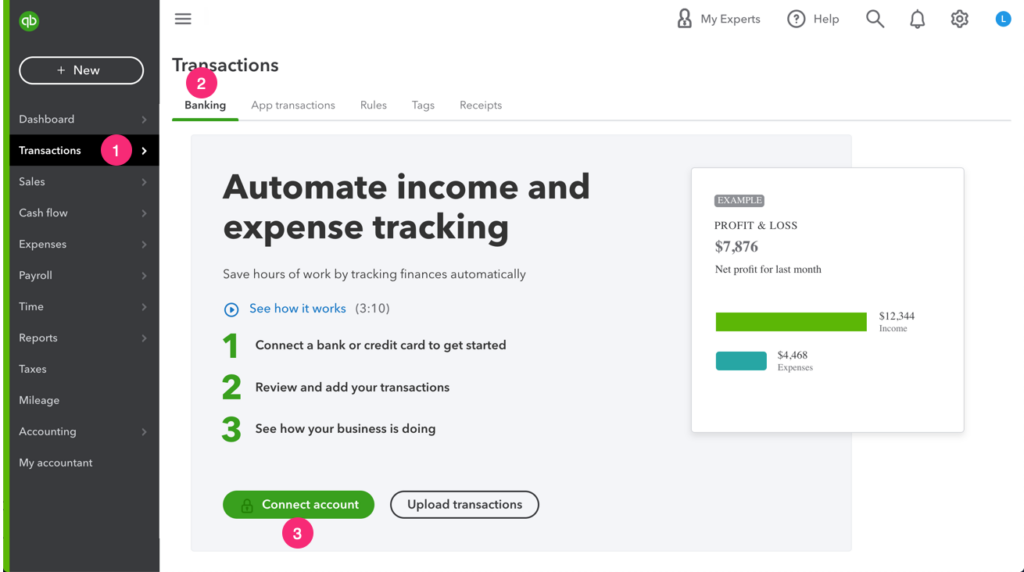
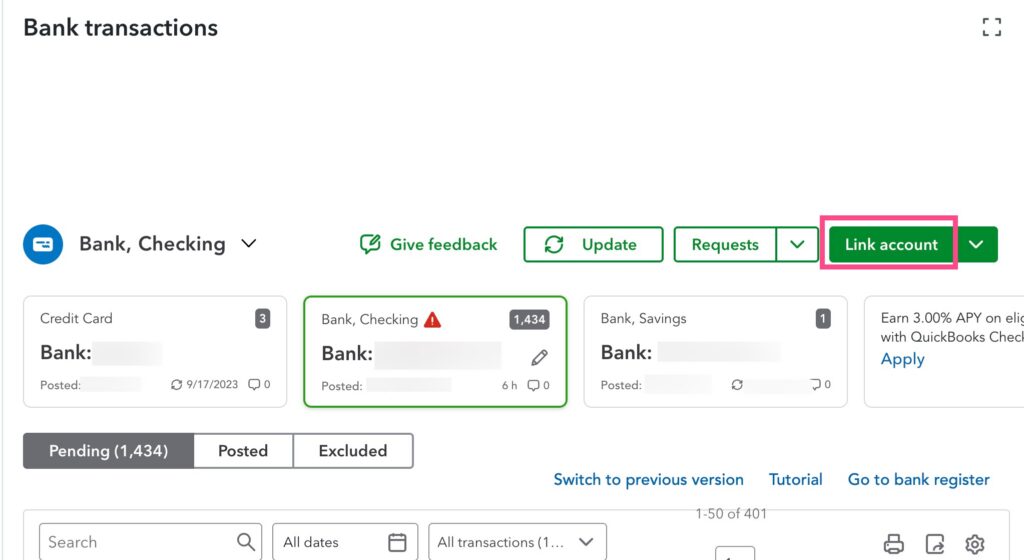
If you already have bank or credit card accounts connected and don’t see this first-time-user screen, look for a ‘Link account‘ button in the upper right area of the screen.
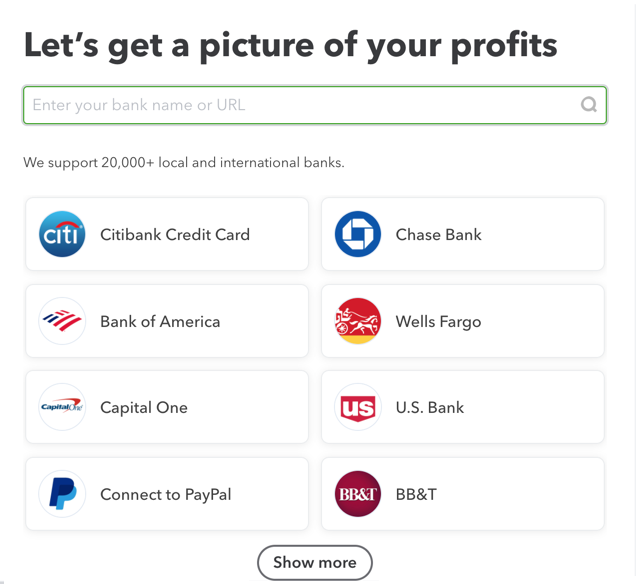
Find Your Bank
If you see your bank logo in the list of common banks, click it. If not, use the search bar to find your bank from the 16,000+ banks that QuickBooks connects to.
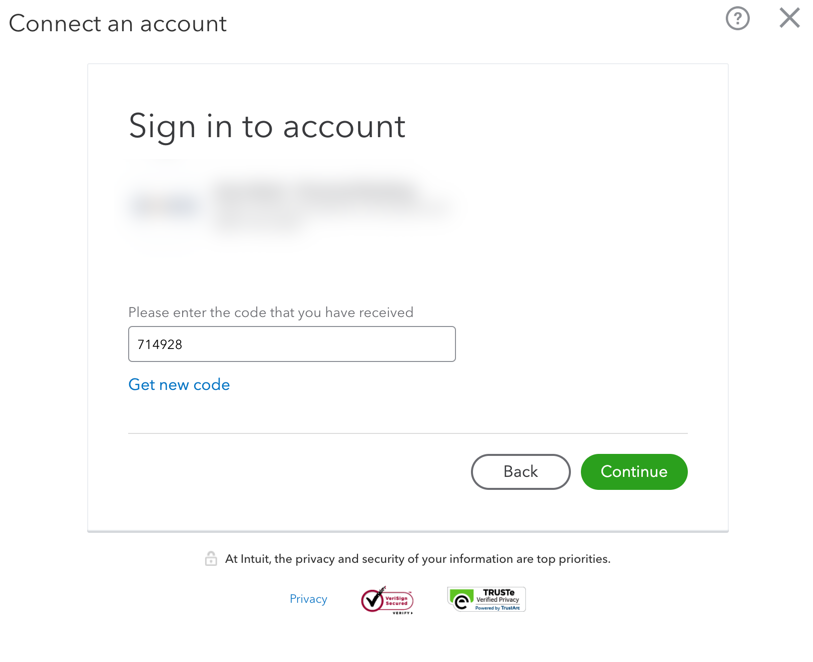
Log In and Authorize
Follow the on-screen instructions to log in to your bank to connect it to QuickBooks

Follow any on-screen instructions to verify your login credentials with a security code
Choose Account(s) & Map Them
Next, you will see a list of bank accounts that are associated with your username at that financial institution. Click on each account that you want to connect to this company’s QuickBooks (checking, savings, credit card, etc).
As you click on each row that you want to connect to QuickBooks, you will see a drop-down field appear. Each dropdown field contains the list of accounts from your QuickBooks Online chart of accounts. Select the appropriate QuickBooks account to map to each online bank account.

After you finish mapping each online bank account to your QuickBooks account, select how much bank data history you want to pull into QuickBooks on this initial connection.
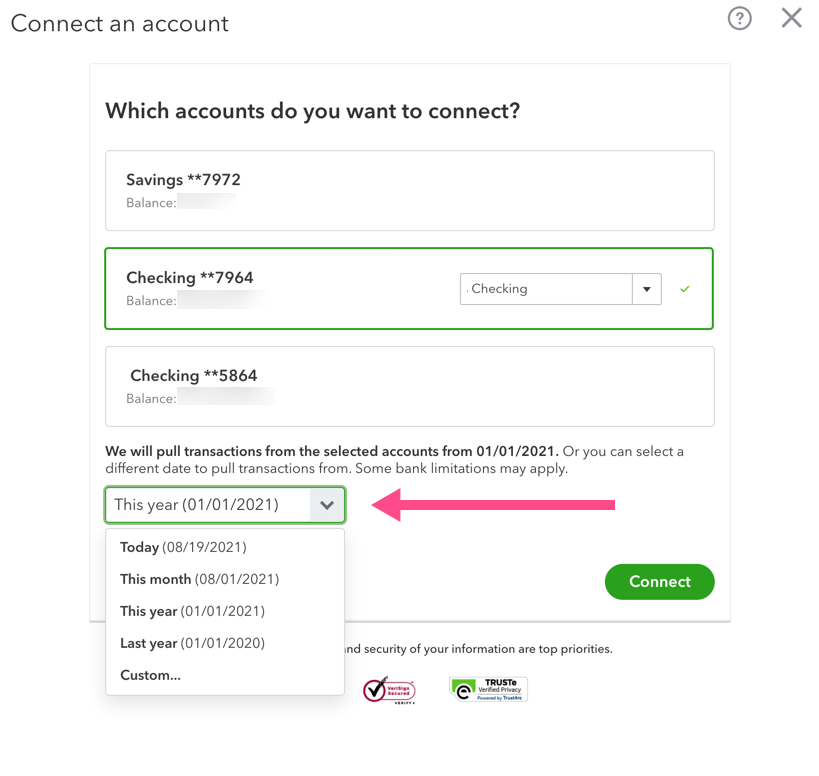
Click the Connect button to finish.
Leave a Reply